Sending Remote Project Updates to the Robot
ThunderAuto project updates can be sent remotely to your robot over the network. Remote project updates allow you to quickly send changes to trajectories, auto modes, and other project settings to your robot without needing to re-deploy the robot code. This can significantly speed up the development and testing process.
Note
Remote updates are temporarily stored in memory on the robot and are lost when the robot program is stopped, so it is important to re-deploy the updated project to the robot for permanent storage.
Using ThunderLib to Receive Remote Updates
ThunderLib provides the robot-side support for receiving remote project updates from ThunderAuto. Remote updates are enabled by default in ThunderLib. Whenever you load a project with the ThunderAutoProject class, ThunderLib will begin listening for remote updates from ThunderAuto for a project with the same name.
When a remote update to a project is received, the associated ThunderAutoProject instance will get updated automatically and all future calls to getTrajectory, getAutoMode, etc. will be updated to reflect the new project state. Any ThunderAutoTrajectory or ThunderAutoMode instances that were retrieved from the project before the update was received will remain unchanged, as well as any existing ThunderAutoTrajectoryCommand or ThunderAutoModeCommand instances. ThunderAutoSendableChooser will also automatically get updated when a remote update for any of its included projects is received, adding or removing choices as necessary.
ThunderLib will refuse to apply remote updates if (a) the robot is enabled or (b) FMS is connected. If for any reason the remote update cannot be applied when it is received, ThunderLib will log an error message to the console.
Remote updates can be disabled for a specific project either by using the disableRemoteUpdates (Java/C++) method of the ThunderAutoProject class.
Sending Remote Updates from ThunderAuto
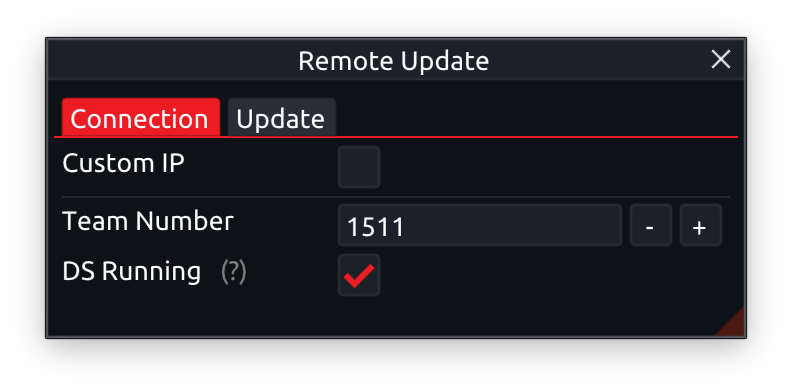
In ThunderAuto, open the Remote Update panel and fill out the properties on the Connection tab.
- Custom IP: If you want to manually specify the IP address of the robot, check this box and enter the IP address in the field below.
- Team Number: The team number, used to determine the robot's IP address using the standard FRC addressing scheme (10.TE.AM.2).
- DS Running: Check this box if the FRC Driver Station is currently running on this computer. ThunderAuto will try to get the robot's IP address from the Driver Station if this box is checked.
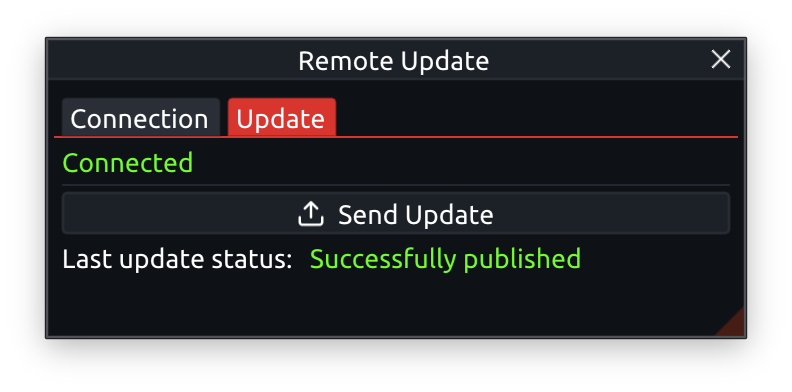
Next, switch to the Update tab. Here you can see whether or not ThunderAuto is currently connected to the robot. If connected, click the Send Update button to send the project state to the robot.
Note
After sending an update, ThunderAuto will display whether or not it was able to successfully publish the project state to the network tables, NOT whether or not the robot received and applied the update.